This is a step by step guide to start running deep learning Jupyter notebooks on an AWS GPU instance, while editing the notebooks from anywhere, in your browser. This is the perfect setup for deep learning research if you do not have a GPU on your local machine.
What are Jupyter notebooks? Why run Jupyter notebooks on AWS GPUs?
A Jupyter notebook is a web app that allows you to write and annotate Python code interactively. It's a great way to experiment, do research, and share what you are working on. Here's what a notebook looks like.
A lot of deep learning applications are very computationally intensive, and would take hours or even days when running on a laptop's CPU cores. Running on GPU can speed up training and inference by a considerable factor (often 5x to 10x, when going from a modern CPU to a single modern GPU). However, you may not have access to a GPU on your local machine. Running Jupyter notebooks on AWS gives you the same experience as running on your local machine, while allowing you to leverage one or several GPUs on AWS. And you only pay for what you use, which can compare favorably versus investing in your own GPU(s) if you only use deep learning occasionally.
Why would I not want to use Jupyter on AWS for deep learning?
AWS GPU instances can quickly become expensive. The one we suggest using costs $0.90 per hour. This is fine for occasional use, but if you are going to run experiments for several hours per day every day, then you are better off building your own deep learning machine, featuring a Titan X or GTX 1080 Ti.
Before you start
Note:
- You will need an active AWS account.
- Some familiarity with AWS EC2 will help, but isn't mandatory.
It will take 5 to 10 minutes to get set up.
Step-by-step guide
1 - Navigate to the EC2 control panel and follow the "launch instance" link.

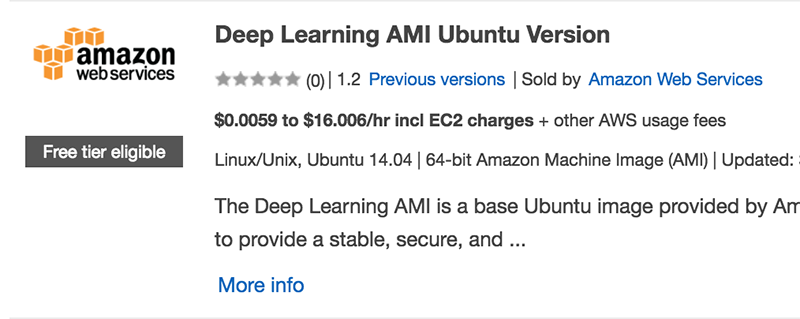
2 - Select the official AWS deep learning Ubuntu AMI.
To find it, select "AWS Marketplace" and search for "deep learning" in the search box.

Scroll down until you find the AMI named "Deep Learning AMI Ubuntu Version" (pictured below). Select this AMI.
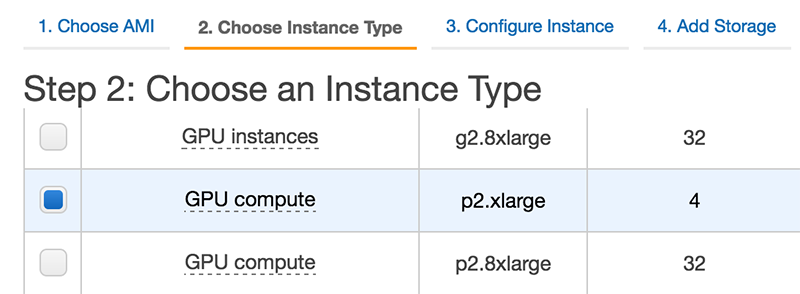
3 - Select the p2.xlarge instance.
This instance type provides access to a single GPU and costs $0.90 per hour of usage (as of March 2017). Click "configure instance details".
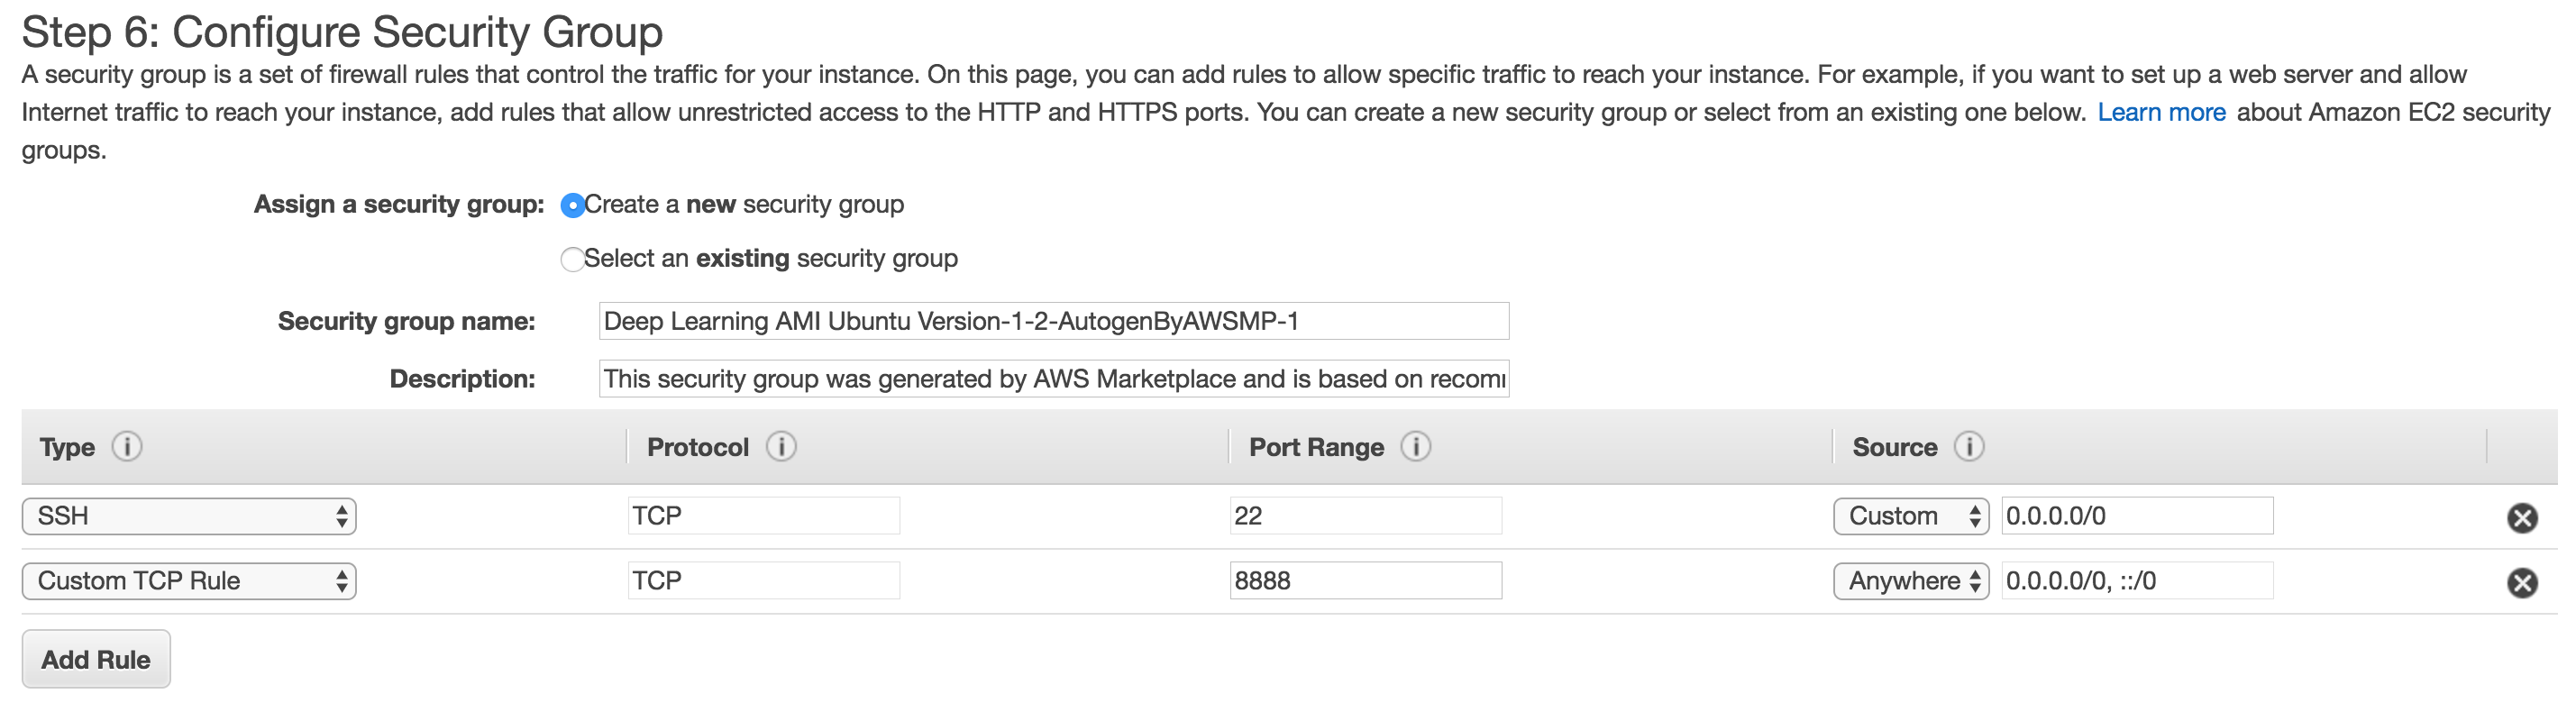
4 - Configure instance details
You can keep the default configuration for the steps "Configure Instance", "Add Storage", "Add Tags". But we will customize the step "Configure Security Group".
Create a custom TCP rule to allow port 8888.
This rule can either be allowed for your current public IP (e.g. that of your laptop), or for any IP (e.g. 0.0.0.0/0) if the former is not possible. Note that if you do allow port 8888 for any IP, then literally anyone will be able to listen to that port on your instance (which is where we will be running our IPython notebooks). We will add password protection to the notebooks to migitate the risk of random strangers modifying them, but that may be pretty weak protection. If at all possible, you should really consider restricting the access to a specific IP. However, if your IP address changes constantly, then that is not a very pratical choice. If you are going to leave access open to any IP, then remember not to leave any sensitive data on the instance.
At the end of the launch process, you will be asked if you want to create new connection keys or if you want to reuse existing keys. If you have never use EC2 before, simply create new keys and download them.
5 - Launch your instance and connect to it.
To connect to your instance, select it on the EC2 control panel, click the "connect" button, and follow the instructions provided, e.g.:
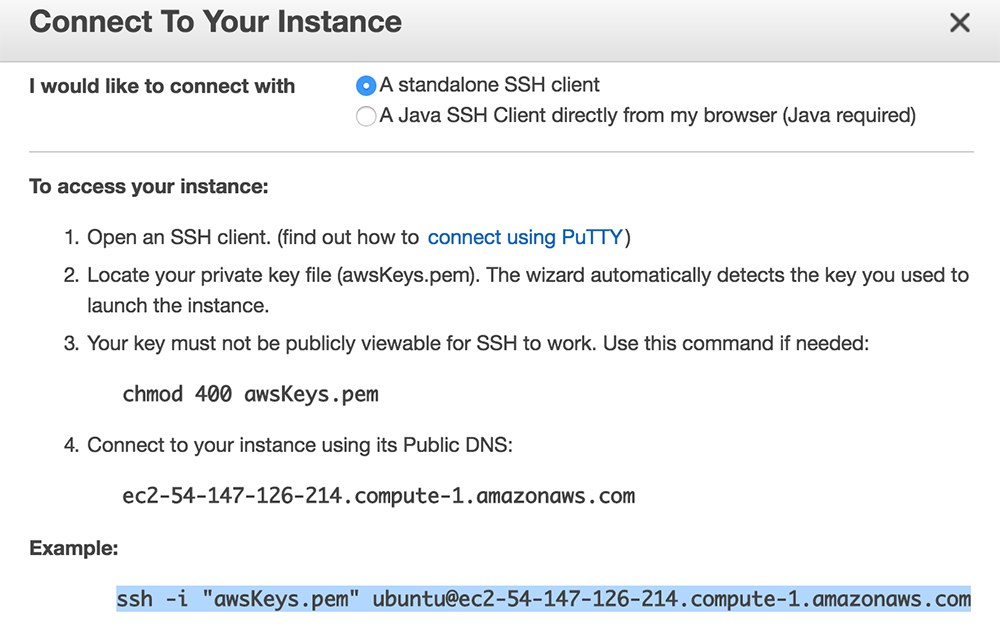
Note that it may take a just minutes until the instance is fully booted up. If you can't connect at first, wait a bit and retry.
6 - Set up SSL certificates
Once you are logged into the instance via ssh, create a ssl directory at the root of the instance and cd to it (not mandatory, but cleaner).
mkdir ssl
cd ssl
Create a new SSL certificate using OpenSSL:
sudo openssl req -x509 -nodes -days 365 -newkey rsa:1024 -keyout "cert.key" -out "cert.pem" -batch
When done, you will have created two files in the current ssl directory: cert.key and cert.pem.
6 - Configure Jupyter
Before we start using Jupyter, we need to touch-up its default configuration. First, we will need to generate a new Jupyter config file (still on the remote instance):
jupyter notebook --generate-config
Optionally, you can generate a Jupyter password for your notebooks. Since your instance may be configured to be accessible from any IP (depending on the choice you made when configuring the security group), it is better to restrict access to Jupyter via a password. To generate a password, open an IPython shell (command ipython) and run:
from IPython.lib import passwd
passwd()
exit
The passwd() command will ask you to enter and verify a password, and when that is done, is will display the hash of your password. Copy that hash, we will need it soon. It looks something like: "sha1:b592a9cf2ec6:b99edb2fd3d0727e336185a0b0eab561aa533a43" (that's the hash of "password", which is not a password you should be using).
Next, use Vi (or your favorite available text editor) to edit the config file:
vi ~/.jupyter/jupyter_notebook_config.py
It's a Python file where all line are commented-out.
You need to insert the following lines of Python code (e.g. at the start of the file):
c = get_config()  # get the config object
c.NotebookApp.certfile = u'/home/ubuntu/ssl/cert.pem' # path to the certificate we generated
c.NotebookApp.keyfile = u'/home/ubuntu/ssl/cert.key' # path to the certificate key we generated
c.IPKernelApp.pylab = 'inline'  # in-line figure when using Matplotlib
c.NotebookApp.ip = '*'  # serve the notebooks locally
c.NotebookApp.open_browser = False  # do not open a browser window by default when using notebooks
c.NotebookApp.password = 'sha1:b592a9cf2ec6:b99edb2fd3d0727e336185a0b0eab561aa533a43'  # this is the password hash that we generated earlier.
In case you are not a Vi person, remember that you need to press i to start inserting content, and when you are done, you can hit esc then :wq and finally enter to quit Vi while saving your changes (:wq stands for write-quit).
7 - Update Keras
You are almost ready to start using Jupyter. But first, make sure to update Keras. Albeit there is a version of Keras pre-installed on the AMI, it may not necessarily be up to date. On the remote instance, run:
.Install Keras [source,cs]
sudo pip install keras --upgrade
In case you plan on using Python 3, you should also update Keras using pip3:
.Updating Keras for Python 3 [source,cs]
sudo pip3 install keras --upgrade
In case there is any existing Keras configuration file on the instance (this should not be the case, but the AMI may have changed since we wrote this guide), you should delete it, just in case. Keras will recreate a standard configuration file when it is launched for the first time.
If the code snippet below returns an error saying that the file does not exist, then you can just ignore it.
.Cleaning up the Keras config file [source,cs]
rm ~/.keras/keras.json
8 - Set up local port forwarding
In a shell on your local machine (not the remote instance), start fowarding your local port 443 (the HTTPS port) to port 8888 of the remote instance. This is done using the syntax:
sudo ssh -i awsKeys.pem -L local_port:local_machine:remote_port remote_machine
In our case this becomes:
sudo ssh -i awsKeys.pem -L 443:127.0.0.1:8888 ubuntu@ec2-54-147-126-214.compute-1.amazonaws.com
9 - Start using Jupyter from your local browser
First, on the remote instance, create the folder where you will save your notebooks:
mkdir notebooks
cd notebooks
Start Jupyter Notebook by running this command inside the folder you create, on the remote instance:
jupyter notebook
Then, in your local browser, navigate to the local address which we are fowarding to the remote notebook process, https://127.0.0.1. Make sure that you use HTTPS in the address, otherwise you will get an SSL error.
You should see a safety warning:
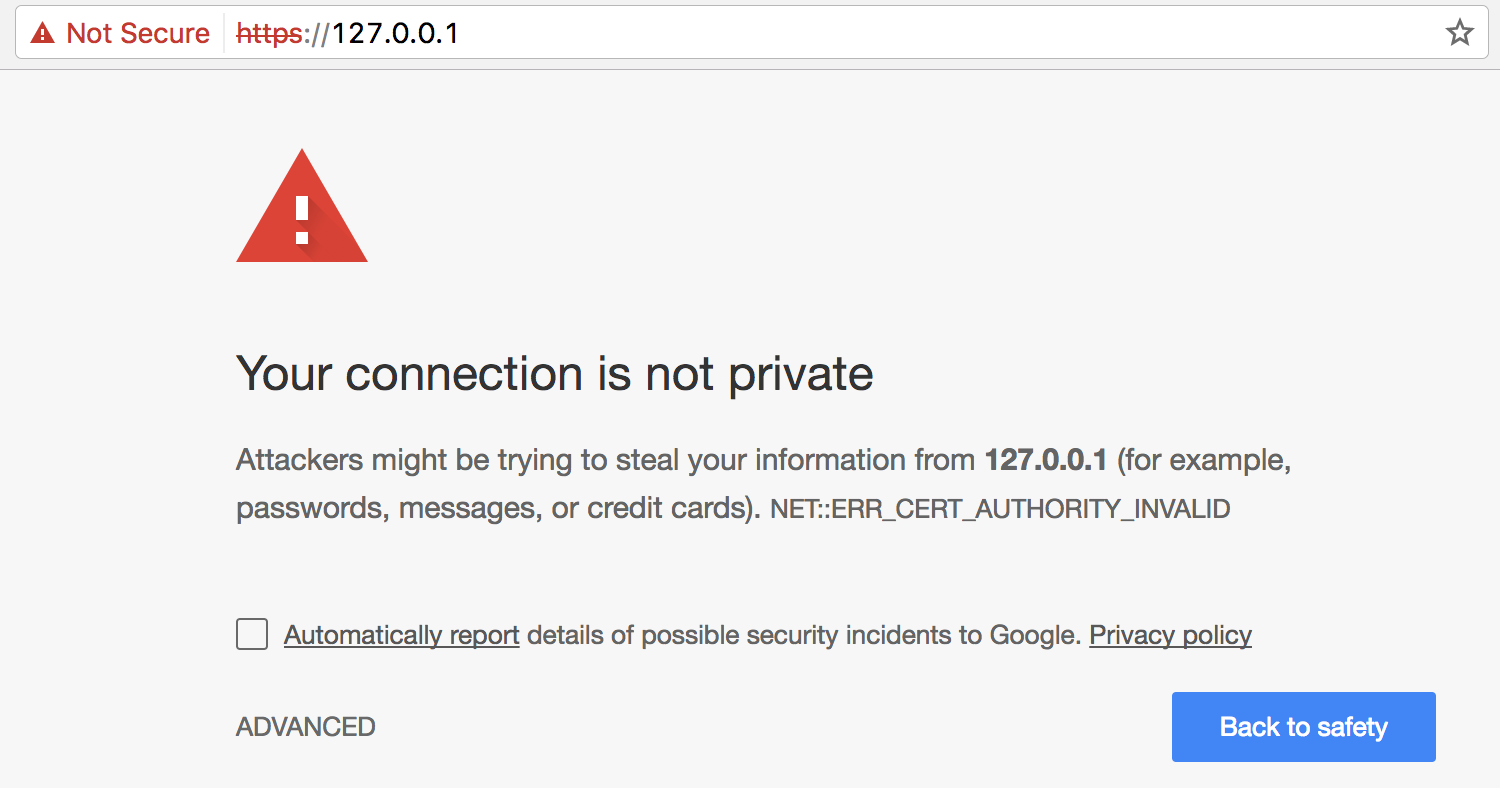
This warning is simply due to the fact that the SSL certificate we generated isn't verified by any trusted authority (obviously: we just generated our own). Click "advanced" and proceed to navigate, which is safe.
You should then be prompted to enter your Jupyter password. You will then arrive to the Jupyter dashboard.

Click "New -> Notebook" to get started. You can use the Python version of your choice.
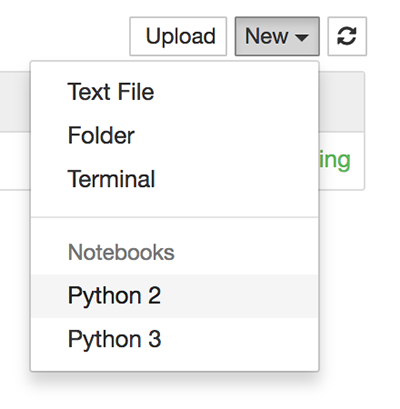
All set!